Tutorial: Picture fade effect using picsart
.png)
Hi guys! I am back with simple tutorial to be share.
Actually i have been asked by Apis (visit him fanboy blog & personal blog) on how to edit biases picture into a fade effect. Down here i have attached a picture to those who don't really understand what fade effect is.
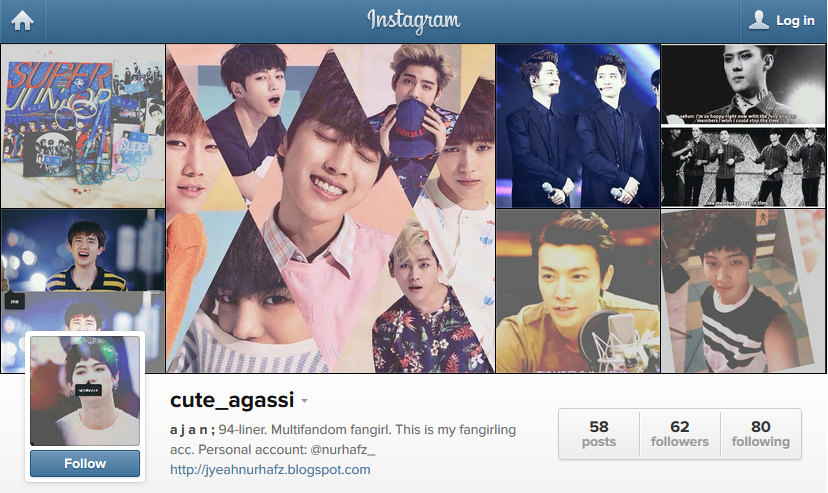
Follow my insta fan-girling acc: @cute_agassi
Okay what do you need are: 1. A picture of bias 2. Picsart apps.
Step: 1. Select a picture = Photo > Gallery
2. Select an effect = Effect > Film
You might need to adjust the input shift and the output shift. Adjust at your desirable taste.
3. Select a mask = Mask > Lights
This will help your picture to not look too plain or pale. It is an option for you. If you want a pale and plain picture, then skip this step.
4. DONE AND SAVE!
Before and after
Now your picture is ready to be upload on instagram. Good luck!
P/S: It is funny when i forgot to publish this entry where i have already prepared long time ago and even picsart have updated it's apps into d…